Friday, August 12, 2011

Ribbon Bookmark

Here's a great quickie project that you can do with craft scrap that you probably already have in your house!

All you will need is: 
ribbon (length depends on your book size)
1) button
1) hair elastic


You can do this by hand, but if you have amateur sewing skills like me and a machine, this project can make you feel that much fancier.

Take your hair elastic and fold your ribbon end over it.
Stitch (I used a zig zag stitch for extra strength)

This is a great time to use a zipper foot.

Cause Lord knows I'll probably never be using it for its intended purpose.


Easy, right?


Measure the ribbon by closing the book with the ribbon inside. Bring both ends to the front cover and cut, with a inch or so of space (for the elastic to reach over to the button.)

Take the cut end of ribbon and melt it near (not IN) a lighter. This will melt the end just enough to keep it from fraying.


Sew your button onto the nekkid end and viola....

Cute bookmark!


Unfortunately, this is how I'll be using mine


As you get further into your book, the elastic will stretch to accommodate for the pages building up between the ribbon and cover. 


Saturday, July 30, 2011

Kinda like a giveaway...but not

Freebie alert! Niiiiiiice....
Nail Polish stickers! Any paint job on my fingers last all of about... 3 seconds. These are supposed to last WEEKS! Niiiice. They are $6 with free shipping but you receive a $10 credit for signing up with your email address. Easy peasy lemon squeezy!

Go here to get yourself all gussied up! 

Wednesday, July 27, 2011

Napkins-Are-For-Fancy-People Pillows

Disclaimer: this tutorial is for those with some (albeit minimal) sewing experience. Mainly because, I am redonkulous when it comes to teaching things. If you want some great tutorials on sewing, check out Make it and Love it. They always have great tips and awesome projects going on over there!

Ever see a bunch of clearanced napkins at your local bazzar style store and think, "Love the fabric, but fabric napkins are too shnazzy for my people." No? Me neither. 

But I did love the fabric on these World Market napkins [same fabric as my table runner curtain.] They were a buck. Sounds cheaper than a dollar, doesn't it?

And yes, fabric napkins are too shnazzy for my people. We use like 3 napkins each when we eat. 

Either we're really messy eaters, or strive for really tidy faces. Jurys still out.


Well I'm gonna show you another use for those napkins. A higher level of class mind you!

3 napkins per pillow is what you'll need (sounds like the first line in a terrible square dancing song)

Doing it this way gives you an envelope closure so you can actually take off the pillow cases and wash them. 

Lets hear it for cleanliness.

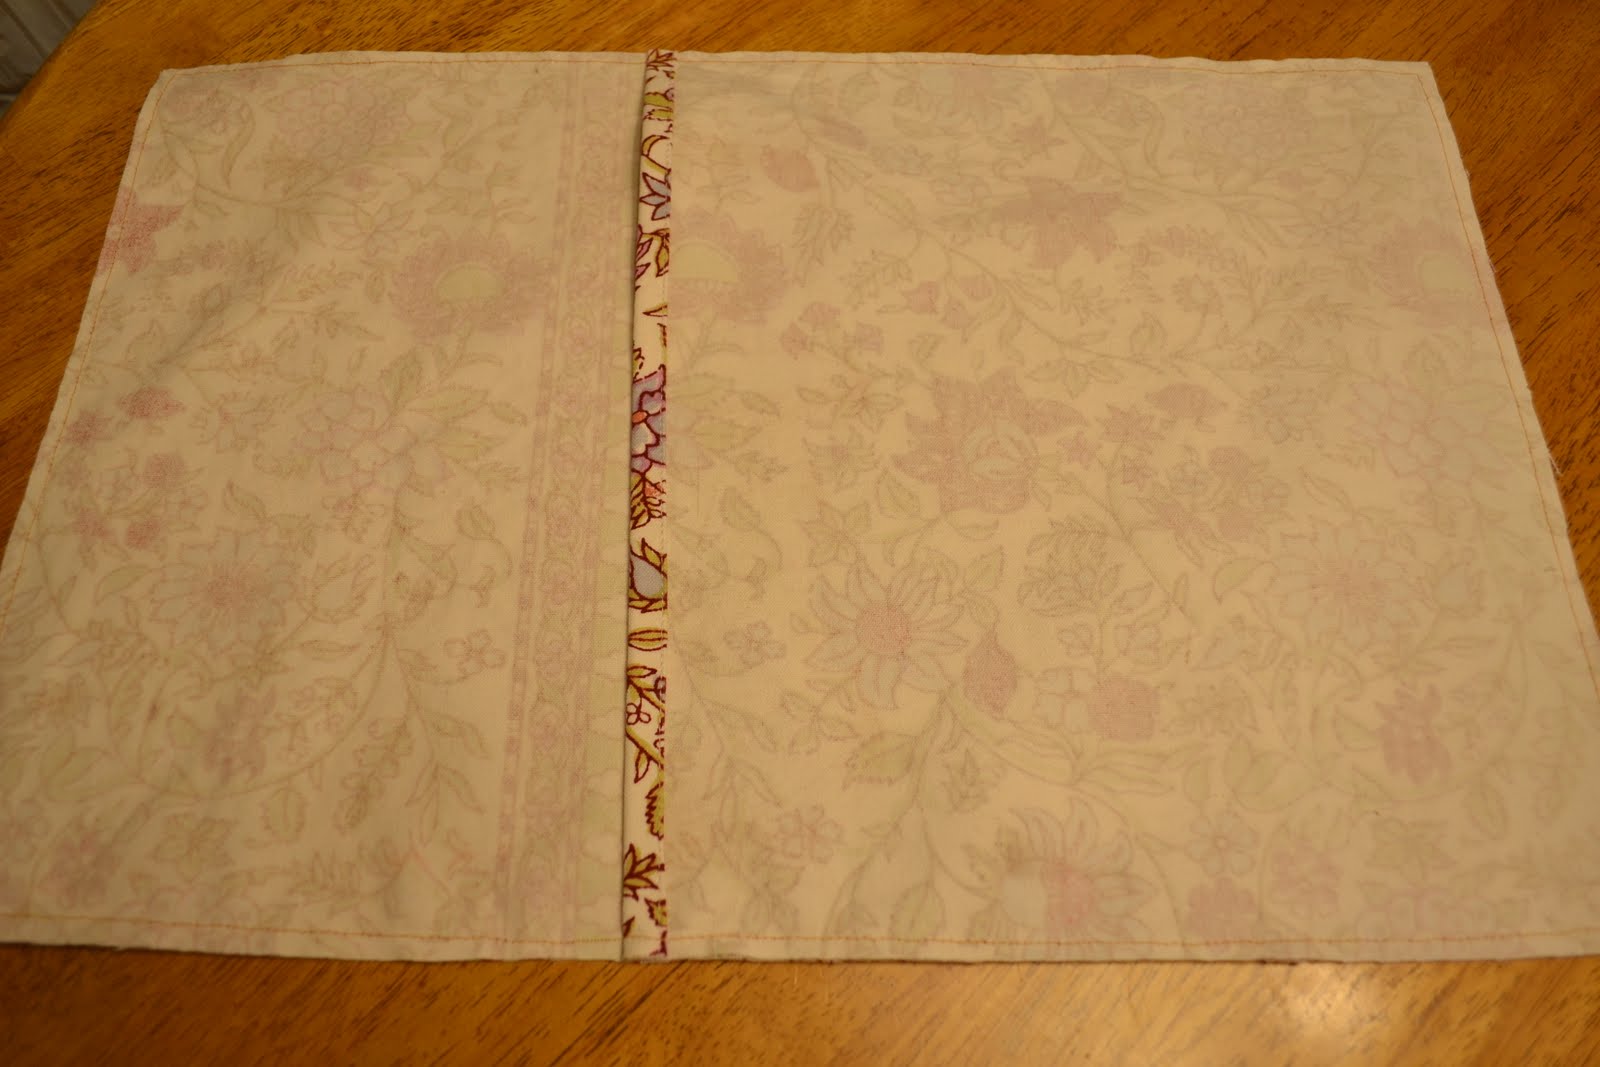
This photo below only shows how you need to overlap your napkins. You don't actually sew it like this 

because....1. right sides are not together
2. its crooked, yo!


There much better.  Then pin and sew around the edges. Sew just on in the inside of the hemmed edge.


Then trim off your excess like so....

(I've always wanted to use "like so..." in a legit sentence.)


Turn right side out and stuff (we already had 20" square pillow inserts). Make sure to karate chop the pillow before you photograph it. 

It will make you happy, I promise.

[The middle pillow is made from a place mat. Also for fancy people.]
  
The blue pillows are also made out of napkins, but no envelope covers. They are just straight up square pillows. 

One helpful tip though is when you trim the excess after sewing (and you have remembered to leave a hole to stuff the fluff into) leave some of the hemmed edge of the napkin. It makes it easier to turn inside and stitch the hole closed.


Ahh....perdy cheap pillows.


Sharing at the Weekend Wrap Up

Friday, July 22, 2011

Mistreated Dining Room Window

I'm over red. In our first house (a parsonage in Michigan) I was all about red. So much that we had the red accent wall...in our kitchen....just like everyone else.

Then we moved into our first real home (read: we actually have to pay for it and the fix stuff that breaks) I just transferred the red curtains from casa #1 to casa #2. And then they sat, for 3 years.

Well I'm over it baby!!!

Here is a (kinda) shot of the dining room window before. The dining room curtains is the panel on the right. The curtain on the left of the pic is in our living room, (we have an open floor plan) but those also got the boot!


And here is the window now...lurve it! 


I bought two shutters from a local junk store and spray painted/distressed them.

Enter real life crafty friend: Missy. On a recent shopping expedition, we hit up World Market.

She told me about how she just uses their printed napkins for her kitchen curtain.
Ba-rill-iant!

So I got a table runner that was on clearance (woot!) and attached it to the wall....with thumbtacks.

Well hello new mistreated curtains!

Mistreatment:[mis'treet-ment]-noun. 
1. A window treatment made all wrong. No perfect sewing, lining, interfacing, or measuring allowed. 
2. Fabric that makes you happy and whatever method of attachment you prefer: tacks, hot glue, ring clips, upholstery tacks, whatevs.

Yay! Now go mistreat something...


  But not an animal.

Thursday, July 21, 2011

Jell-O Popcorn

Hey kids, its snack time (my favorite time besides craft and nap time).

Today's snack: Jell-o popcorn.

Candied popcorn...in my in un-Marthaed kitchen? 

Ya huh!

 Here's the cast of characters


8 cups popped popcorn
3 Tbsp light corn syrup
1/4 cup (1/2 stick) butter or margarine
1/2 cup sugar
1 pkg. Jell-o 

I used sugar free Jell-o cause thats what was in my pantry yo. And if I were going to do it again.....I would buy sugar free. For some reason it makes you feel better when you're adding all the other sugars in there!

By the way, here's my trick for plain ol' popcorn. No oil needed!

Put a handful of kernels in a brown paper bag. Roll the top down. Nuke it til you hear the popping 1-2 seconds apart. 

Thats it!

note: LOOSELY roll the top down of your paper bag. If you roll it too tight, steam can't get out and the bag will start to burn!!!

Yum right? Just you wait....


Place butter and corn syrup in small saucepan; cook on low heat until butter is melted. Add sugar and Jell-o; stir until Jello-o is completely dissolved. Bring to boil on medium heat. Reduce heat to low and simmer 5 minutes (stirring frequently)


Mmmm candied goodness.

Drizzle over popcorn and spread onto baking sheet. (I wrapped mine in foil and greased it. DO IT!)


Bake 10 minutes at 300 degrees. But watch it! This can go from very good to very sad, very quickly.

And thats today's snack time kids. Enjoy! 


Sharing at the Weekend Wrap Up